mac上的窗口管理工具yabai以及配置自己的neovim
Contents
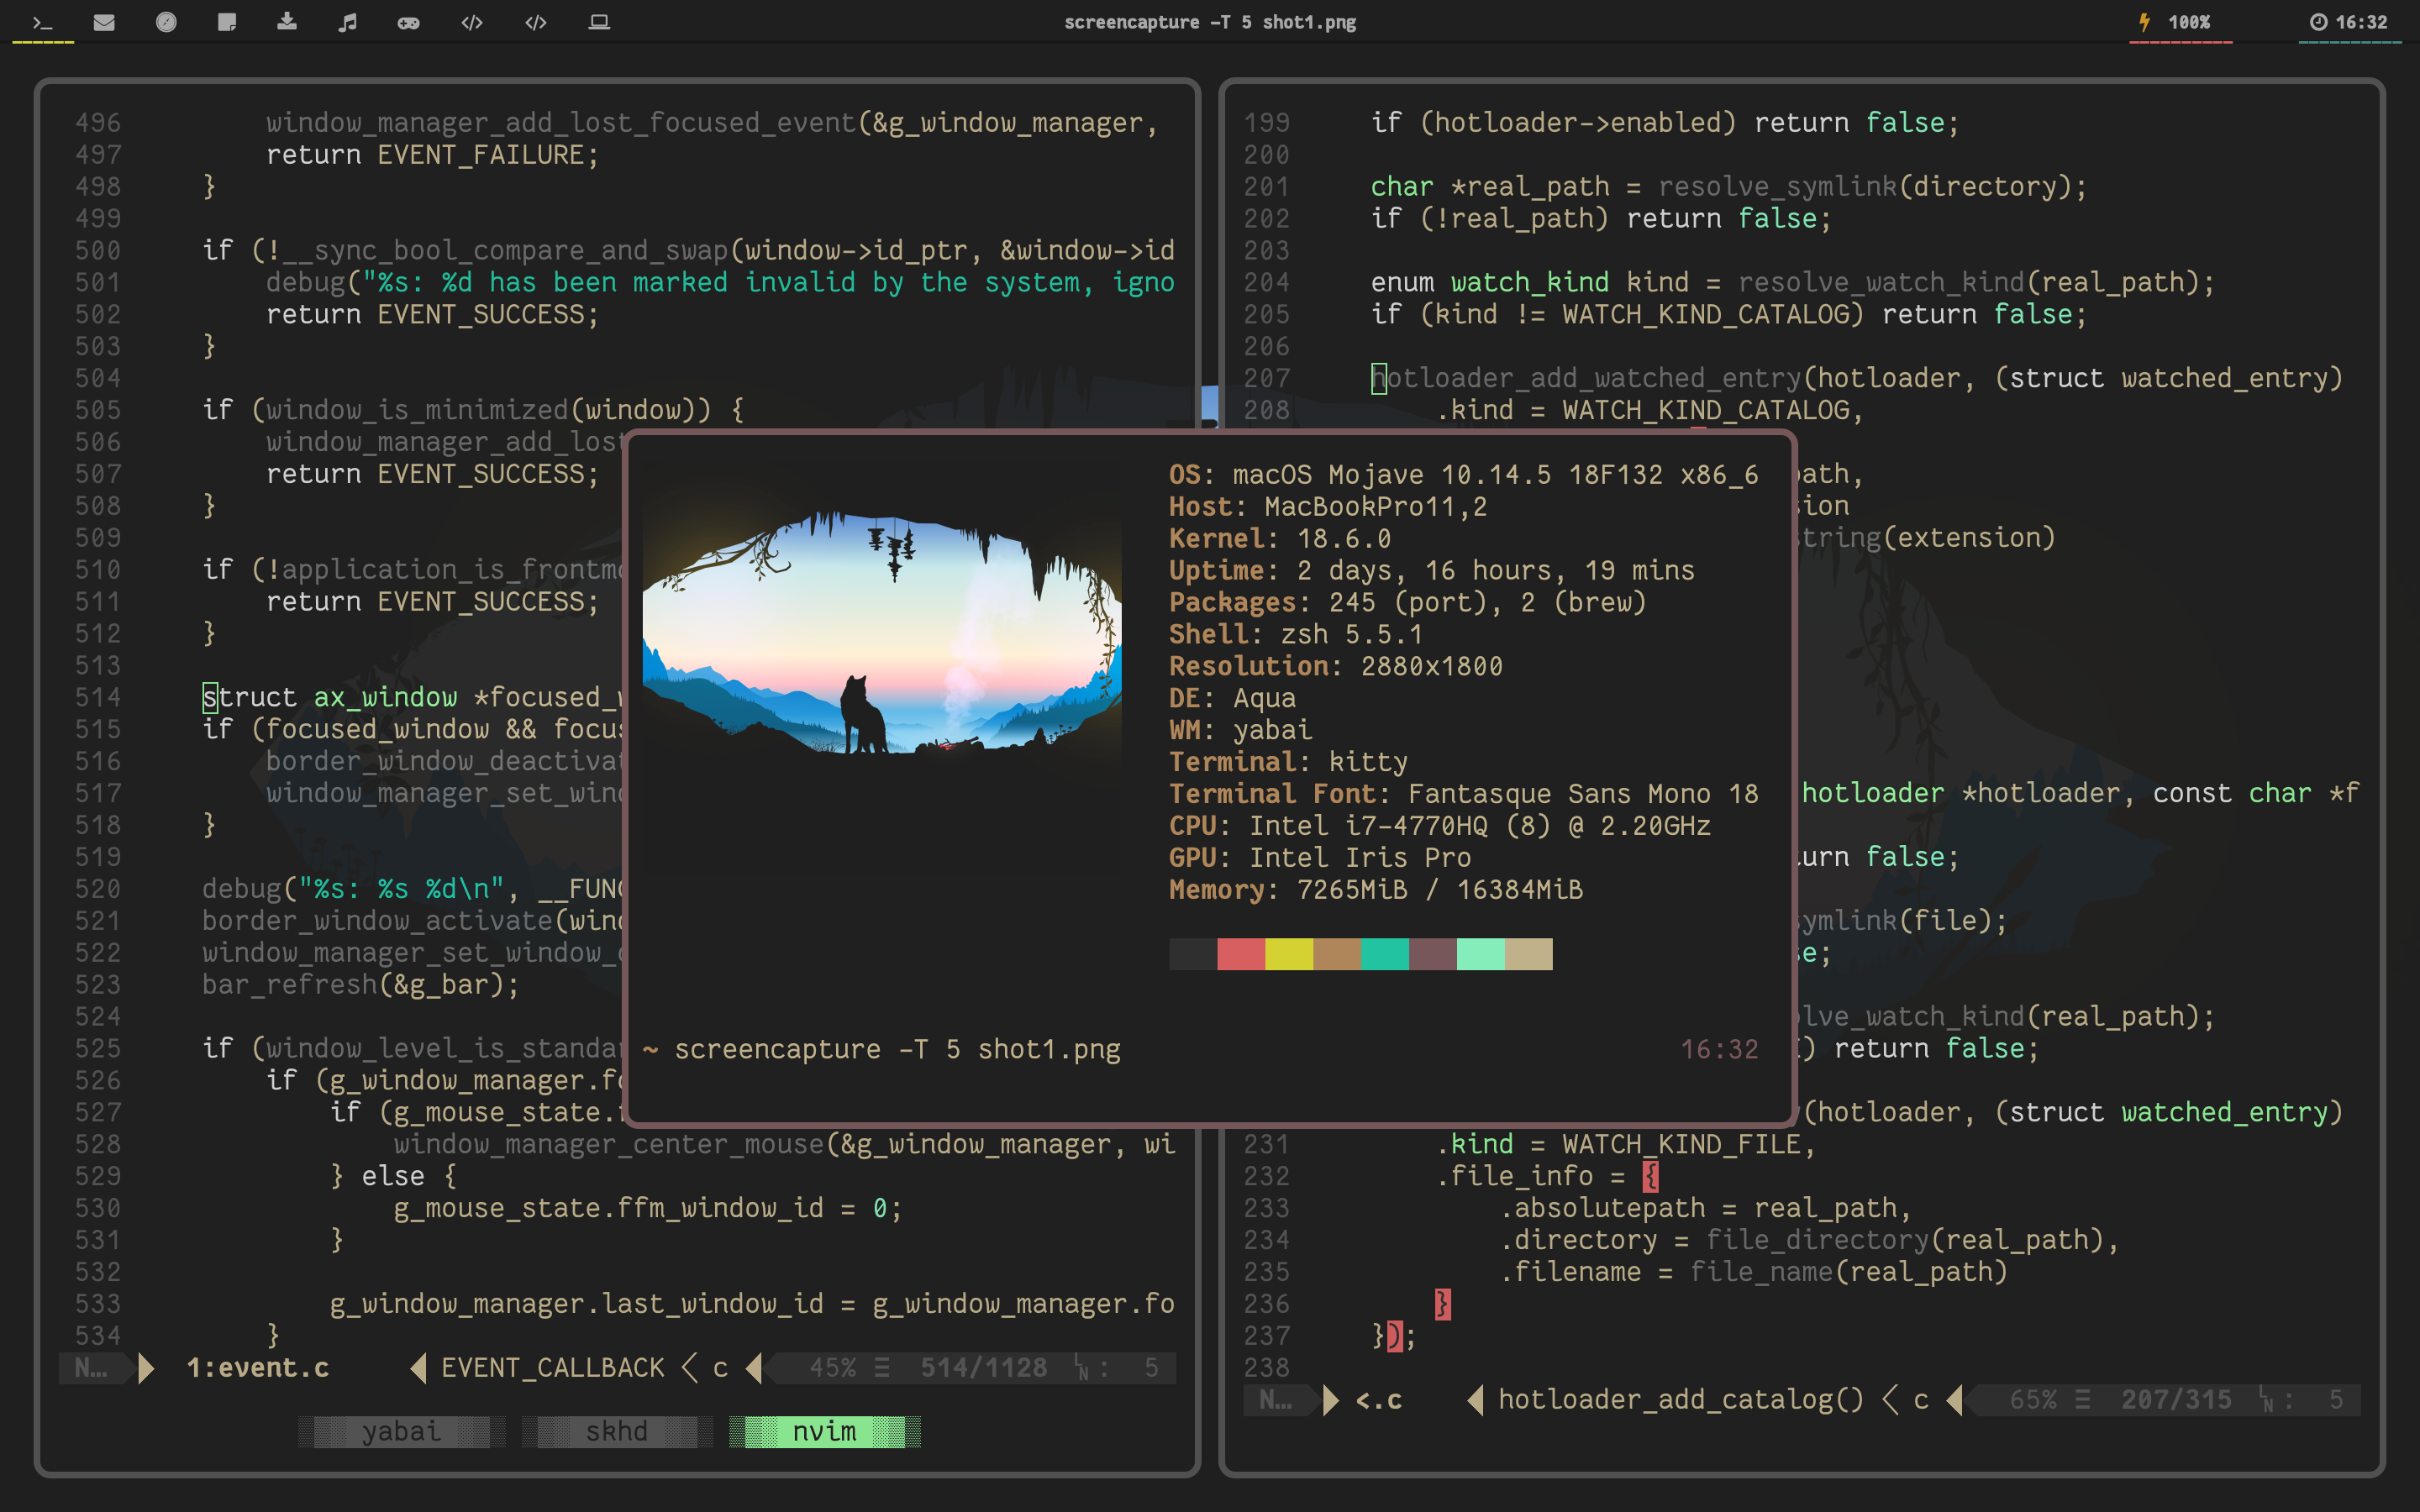
先上效果图

安装并使用 yabai
yabai 实际上是一段注入 Dock.app 的程序,所以为了使用它,我们必须关闭 macOS 的 System Integrity Protection,至于具体怎么关可以百度一下。当然,这样做也是存在一定的风险的,如果不喜欢这样做的话,可以考虑使用 chunkwm(这个和 yabai 都是一个人做的)。不过 yabai 确实有一些很棒的 feature,你甚至可以自己写一个状态栏(不过我还是懒得搞了)。
这是 yabai 作者给出的示例图片,自己权衡一下吧。

安装需要 xcode-10 command line tools。
使用 homebrew 安装
|
|
直接把 git 仓库复制下来安装
|
|
完成上面这些后,应该可以在终端里运行 yabai 了。但是还没有将脚本注入到 dock.app 中。
安装注入脚本
|
|
到这里就完成 yabai 的安装了,我们直接利用 homebrew 启动 yabai。
|
|
然后清空桌面,启动终端。yabai 现在应该开始生效了。
好像还少了点什么?在 linux 上用 i3wm 可以直接 super+cr 打开终端,为了在 mac 上达到类似的体验,我们还需要一个快捷键工具 skhd(作者同 yabai)。
具体安装和配置见 https://github.com/koekeishiya/skhd
如果你懒得配置各种快捷键,可以直接将 yabai 里的 example 中的 skhdrc 和 yabairc 作为你自己的配置文件。
neovim 配置推荐
把 neovim 当做 rust 的 ide。

我个人还是比较懒得折腾太多,直接用了一个现成的配置 ThinkVim。 可以见 https://github.com/hardcoreplayers/ThinkVim